Bubble.io is a popular platform for building web applications without the need for coding. With its drag-and-drop interface and intuitive features, even non-coders can create complex web apps in minutes. However, to make your app visually appealing, you need to use styles.
What Are Styles in Bubble.io?
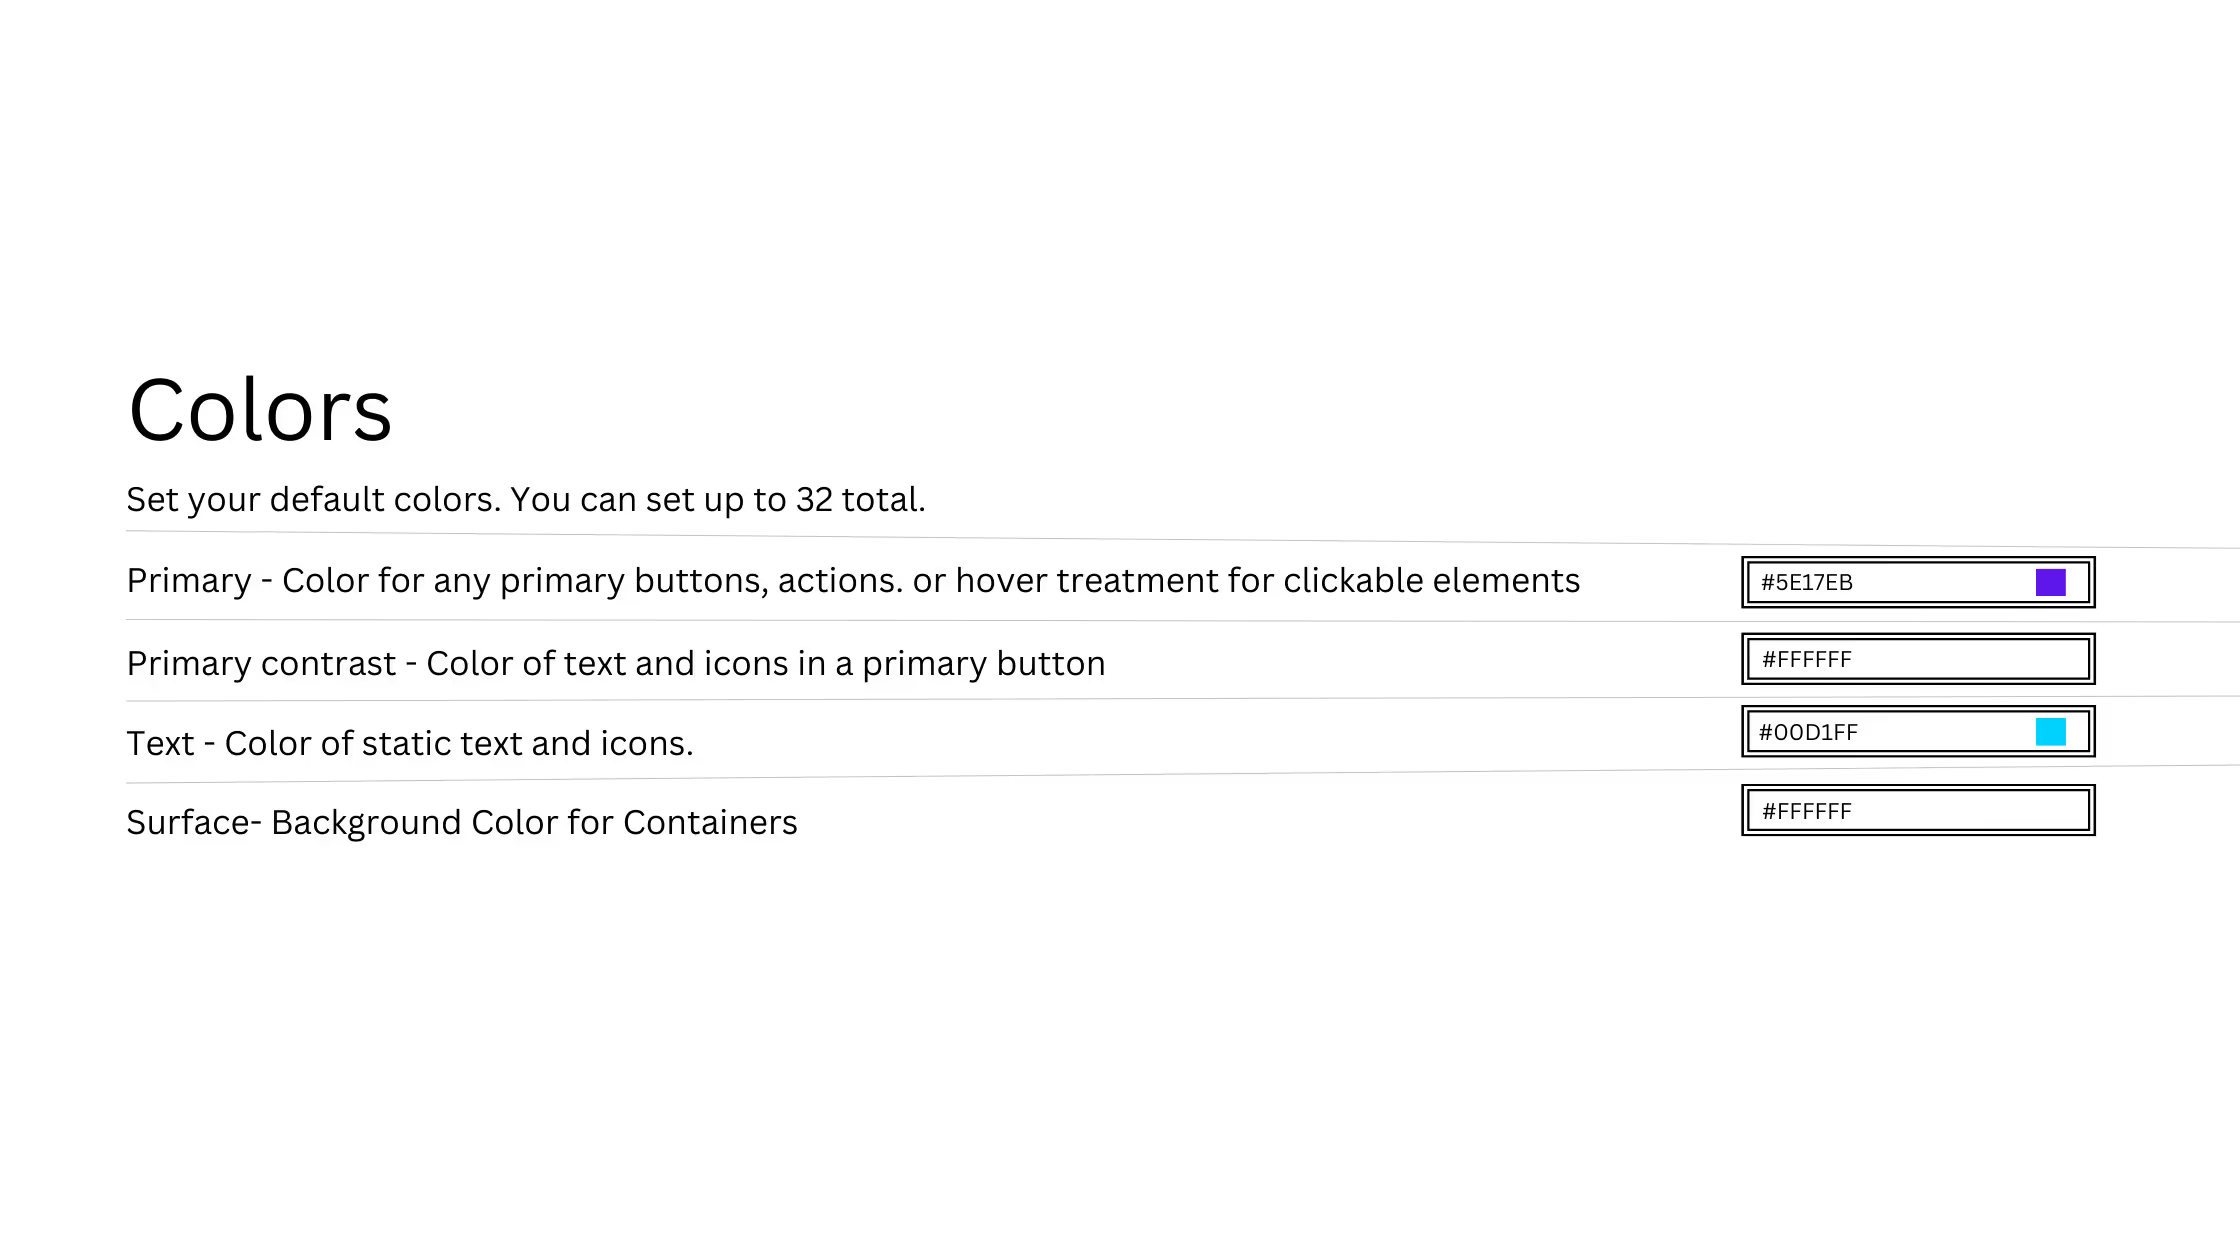
Styles are a set of visual properties that define the appearance of your elements in an organized manner. In Bubble.io, you can define styles in the Styles tab, which allows you to change the styling properties of elements using the Property Editor. You can also create conditions on styles, but only for basic states like hover, focus, etc.
Why Use Styles in Bubble.io?
Using styles in Bubble.io is crucial for optimizing and organizing your projects, making them easier to maintain in the future. Styles are especially useful when working on large-scale projects with multiple pages and elements. By defining styles for each element, you can make changes to your app's visual appearance quickly and easily.
Another benefit of using styles is that they can help improve page loading speed for users (and for search engines). By reducing the number of CSS stylesheets that need to be loaded, you can significantly decrease the time it takes for your pages to load.
How to Use Styles in Bubble.io
To use styles in Bubble.io, you need to follow these simple steps:
Step 1: Define Your Styles
The first step is to define your styles. You can do this by clicking on the Styles tab and selecting New Style. Give your style a name and select the element type (e.g., text, button, input, etc.). Next, define the styling properties for your element (e.g., font size, color, padding, margin, etc.).
Step 2: Apply Your Styles
Once you've defined your styles, you can apply them to your elements. To do this, select the element you want to style, click on the Styles tab, and select the style you want to apply from the dropdown menu.
Step 3: Use Style Variables
Style variables are a useful tool for setting font or color values that can be used throughout your app, and updating the value at a global level will update all instances that use it. To create a style variable, simply add a $ symbol before the name of your variable (e.g., $primary-color).
Step 4: Create Conditions
You can create conditions on styles to change the appearance of elements based on certain events (e.g., hover, focus, etc.). To create a condition, select the element you want to add the condition to, click on the Styles tab, and select Add Condition. From there, you can define the condition and the styling properties that should be applied when the condition is met.
Conclusion
Styles are an essential tool for optimizing and organizing your Bubble.io projects. By using styles, you can make changes to your app's visual appearance quickly and easily, while also improving page loading speed for users. So, remember to use styles when building in Bubble.io!
Services:
Enterprise Mobile App Development
Enterprise Web App Development


.png)